The use of custom audiences can lead to some of the best targeting in your entire Facebook Ads account. These are highly defined groups of people who have established a relationship with your business in the past, such as past customers, recent website visitors, app users and more. You can create custom audiences from customer lists, then take it a step further by having Facebook help you build lookalike audiences, which are people similar to those in your custom audience.
Facebook custom audiences allows marketers to use some of the best ad targeting available to date. Define custom groups of customers based off their interaction with your business and match them to an active Facebook profile for remarketing.
Types of Custom Audiences
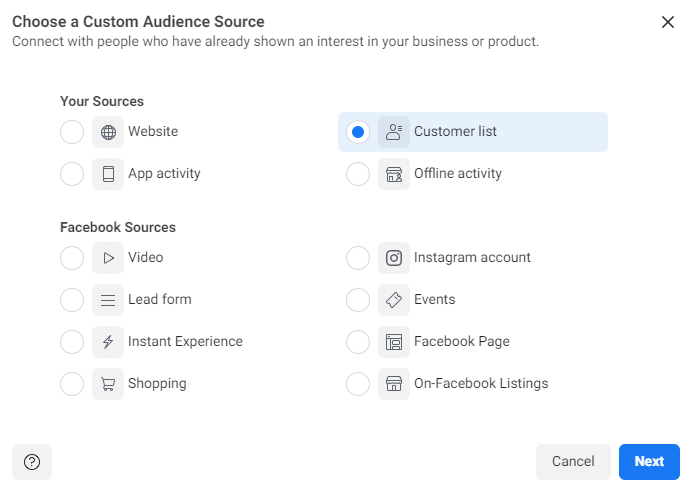
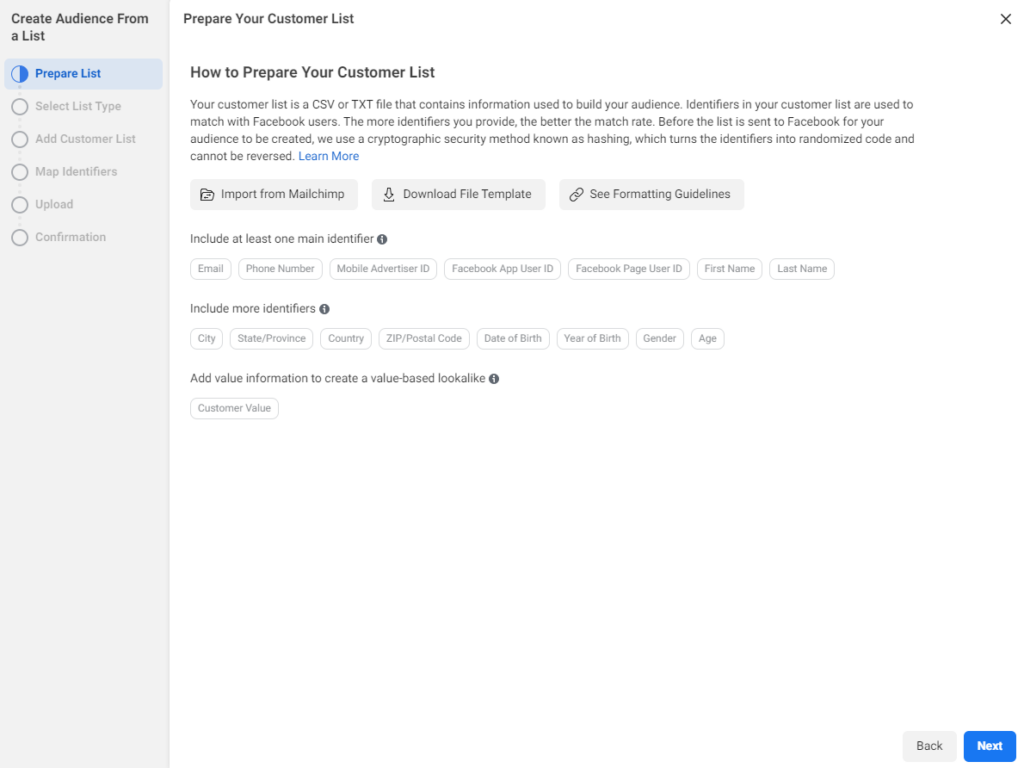
1.) Custom audience from a customer list
A customer list allows Facebook to take personal information you have on your customers and try and match them to an existing Facebook profile without the need for a Facebook pixel or prior engagement to your page.
Think of new email subscribers for example. Let’s say you’ve collected 500 emails using a free download lead magnet on your website. These people are potential customers who’ve shown interest in your business and would therefore be a great audience to market to further. If you uploaded a customer list to Facebook and created a custom audience you’d be able to run specific ads to these people.
It’s important to note that you can only use customer data of people who’ve given you permission to market to them. This means purchased customer lists or data from another website is off the table. Additionally, if someone opts out of your email list they’ll need to be removed from the custom audience as well.
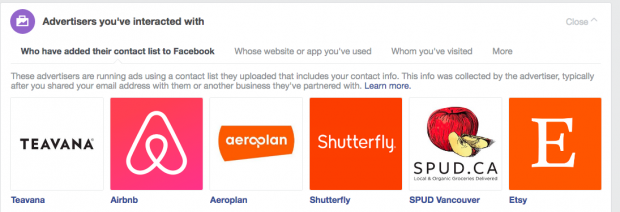
You should also know that customers can see which companies have uploaded customer lists that include their information. If you want to check which advertisers have uploaded lists that include you, log into your Facebook account and click Settings. Then click Ads in the left column, and select Advertisers you’ve interacted with.
Pro Tip: You can use Facebook’s Dynamic Creative Ads to target people who are interested in products and/or services similar to what you offer.
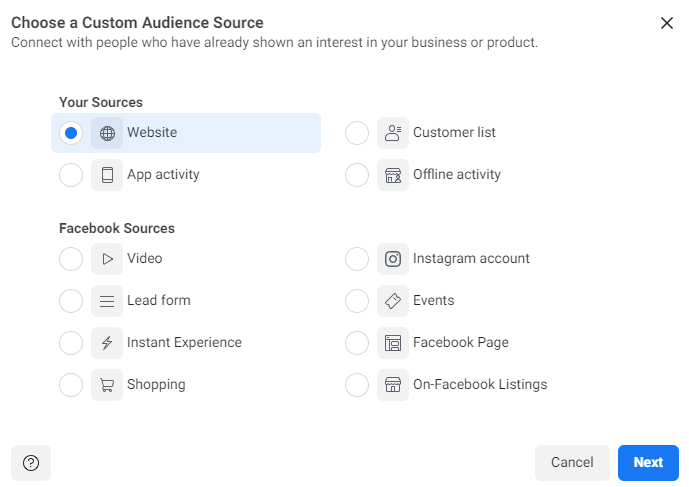
2.) Custom audience from your website
Thanks to the Facebook Pixel, Facebook can easily match your website visitors to a Facebook profile.
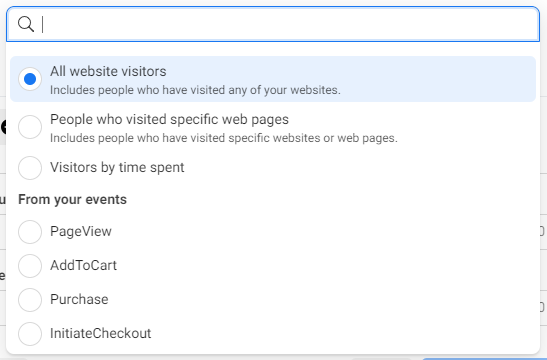
You can use this useful information to create custom audiences and target those who performed certain events on your website. These events would include page views of specific URLs, Add to Carts, Initiate Checkouts and Purchases. You can even select the timeframe for how long someone will stay in your custom audience after meeting the event criteria.
The maximum you can do this is 180 days, after which the user will automatically be removed from your audience.
If you haven’t installed the Facebook pixel yet, you’re missing out on this rich source of data.
3.) Custom audience from app activity
Once you’ve registered your app and setup SDK under Facebook Developers site you’ll be able to create custom audiences based of your app’s data.
This type of audience can be fantastic for increasing engagement with your app. This is possible thanks to the ability to target people who’ve downloaded you app but haven’t used it recently, made in-app purchases, or people who’ve reached a certain level in our game.
Facebook Source Custom Audiences
- Video – who watched one of your videos on Facebook or Instagram.
- Lead Form – who opened or completed on a form in one of your lead generation ads.
- Instant Experience – who opened your instant experience on Facebook or Instagram.
- Shopping – who interacted with your products in a shopping experience.
- Instagram Account – who visited or interacted with your Instagram profile, posts or ads.
- Events – who interacted with one of your Facebook events.
- Facebook Page – who followed or interacted with your Facebook page.
- On-Facebook Listings – who interacted with on-Facebook listings from your catalog.
How to Create Facebook Custom Audiences
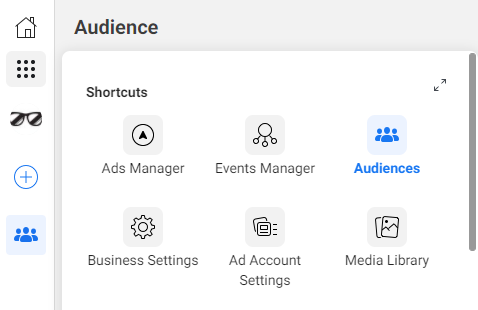
To create a Facebook custom audience you first need to visit the Audiences page in your Ads Manager Account.
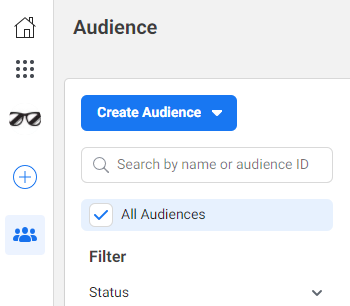
Afterwards you click Create Audience in the top left.
From here however it will depend on what kind of custom audience you’d like to create. Follow the steps below to create a Customer List Custom Audience.
1.) How to create a customer list custom audience
1. Click Customer File and choose whether to add customer data or import a list from MailChimp.
If you are using MailChimp you’ll just need to enter login credentials and follow a few simple steps. If you aren’t sing MailChimp follow the steps below.
2. Accept the Custom Audience terms of service. Once you understand the terms click I Accept.
3. Prepare your list by following Facebook’s data formatting best practices. This should help get as many matches as possible between the dat you provided and existing Facebook profiles.
- Include separate columns for first and last names
- Always include the country code on phone numbers (even if all phone numbers are from the same country). Don’t include a leading zero in the country code. For example, if your customer are in the United States or Canada, the country code is 1.
- Always include a country column (again, even if all your customers are form the same country).
4. Finally, upload your customer data either through a .CSV or .TXT data file. Alternatively you can copy and paste the customer data into the box below. Title your audience and click Next.
5. Wait upwards of 30 minutes for Facebook to finish creating your custom audience.
2.) How to create a website visitors custom audience
1. Select Website as your source when creating a new custom audience
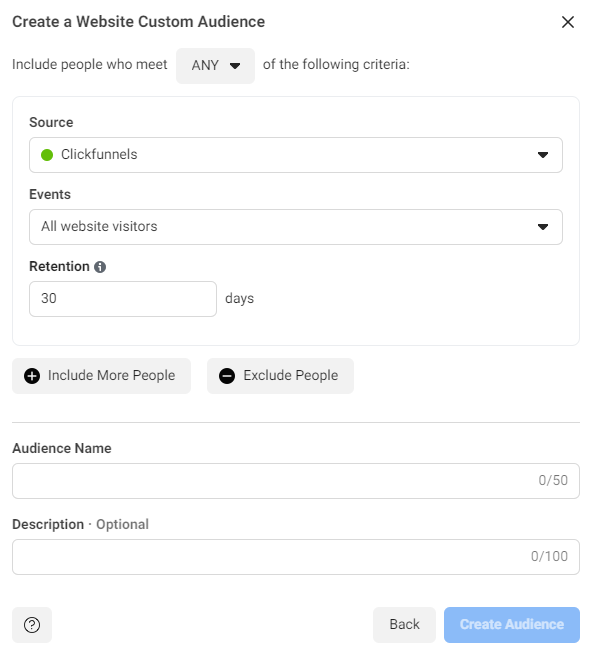
2. Select the Pixel you’d like to bring dat in from. This is indicated by the Source drop down.
3. Begin creating an audience by selecting which action they must have taken on your website.
4. Select Retention range. This is the amount of days a customer will stay in this audience after they met your Event criteria. (Max is 180 days)
5. Narrow your audience further by Including or Excluding certain people.
A great example of this is targeting people who added a product to their cart and excluding those who purchased from you. This way you only target those who abandoned their cart before purchasing.
6. Name your audience and click Create Audience
7. Wait for Facebook to finish creating your audience. This usually takes 30 minutes or so.
3.) How to create a mobile app custom audience
- Select App Activity as the source
- Choose the event you’d like to target from drop-down menu
- Choose how long you’d like to target someone after they triggered the event: 30 to 180 days
- Define your audience using details like in-app purchases and device used
- Name your audience and click Create Audience
4.) How to use your Facebook custom audience
After you’ve created our custom audience it’s now time to use them.
- Open Facebook Ads manager and click Create Ad
- Set the adset to target your custom audience
- Set your budget and timing
- Finish designing your ad creative and click Publish
If you’re looking to maximize your company’s potential, it’s always a good habit to take a look at what your competitors are up to! If you need help managing your Facebook advertising, let us know!